Welcome! If you’ve just read Part 1 of this blog article, welcome to Part 2! However, the second section may be better titled as “How to Optimize a Beach Photography”.
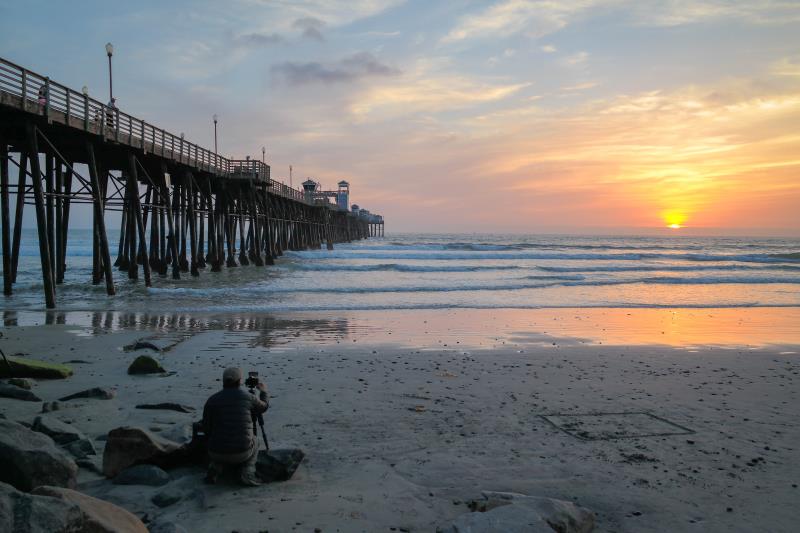
1. Capture the Sun Stars
Sun stars appear when your lens aperture is set at f/11 or below and you shoot shots with the sun partially in view. The true effect arises when the light from the sun is “divided” across the aperture blades of your specific lens; this is why not all sun stars seem the same.
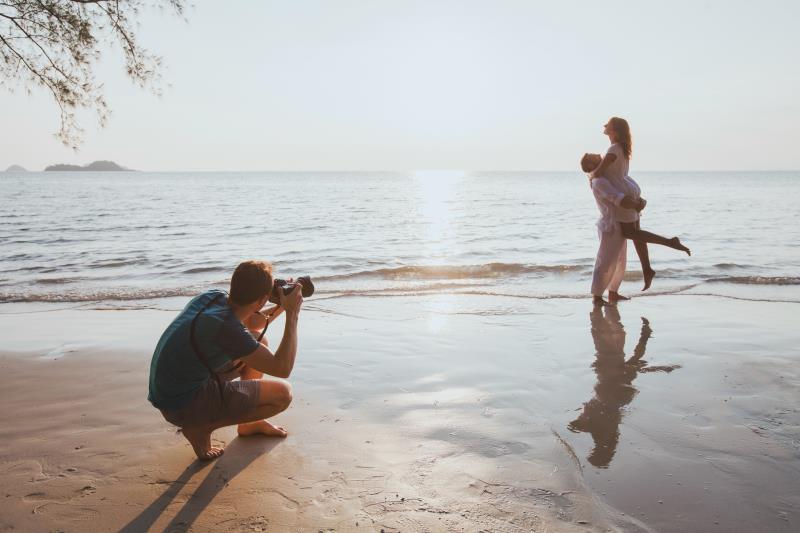
2. Avoid Taking Portraits in the Middle of the Day

It’s better to avoid shooting portraits at the beach during the midday heat. This is the time of day when the sun shines the brightest. Shooting in these settings results in unsightly face shadows and blown-out highlights on your subject.
As previously said in our Part 1, Golden Hour is an excellent period for beach photography, and beach portraits are no exception. Because the light is filtered for a wider distance through the sky during sunrise and sunset, the quality of the light is softer and more diffused, giving your subject a radiant glow without a filter.
3. Seek for the Natural Reflectors
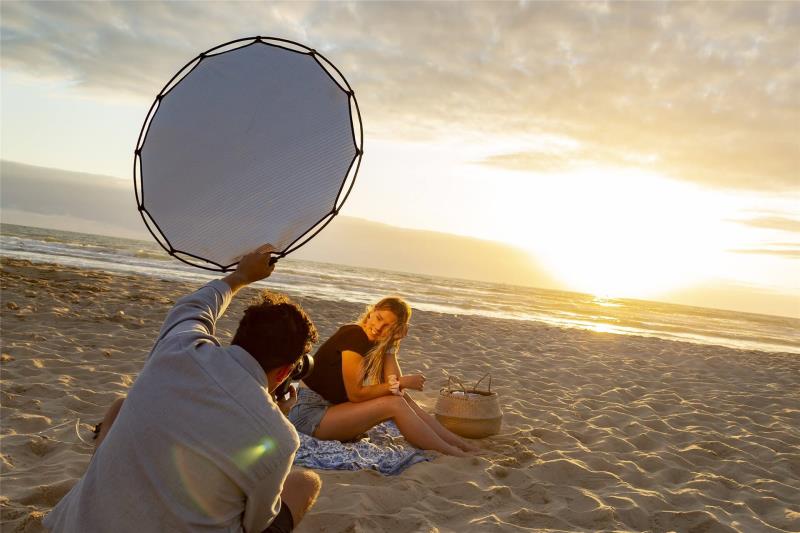 When dealing with intense shadows, a natural reflector might be just what you need to bounce light in the right places.
Fortunately, the white sand on a beach acts as a natural reflector, reflecting light back up. If you’re doing a picture session, make sure your subjects sit with their backs to the sun. Because of their proximity to the sand, plenty of light will be reflected onto your subjects, filling any unsightly shadows.
If you have a reflector, it might come in handy, especially in low-light settings.
4. Try Manual
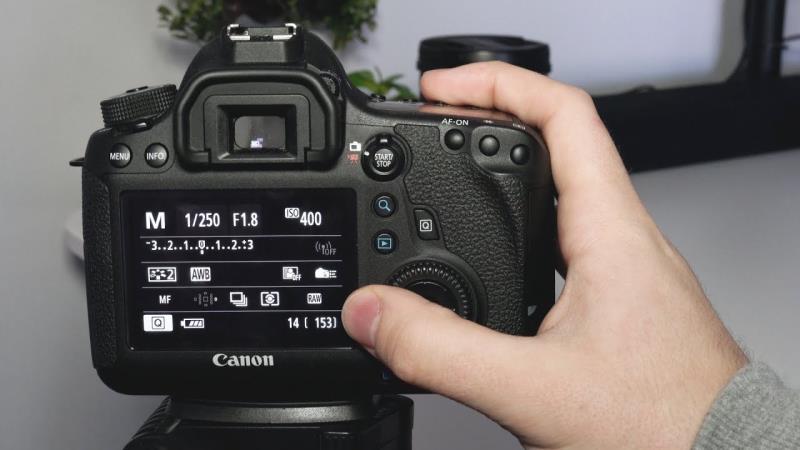
It might be incredibly tough to shoot at the beach at night or in any other situations. Light will be reflected everywhere with so much sand around, increasing your chances of overexposing the image.
Instead of depending on your camera to choose the best settings for you, consider switching to Manual mode. You’ll have more control over the exposure, resulting in better photographs.
5. Capture Reflections
Look for reflections in tidal pools and damp sand. Reflections improve the symmetry and visual appeal of your images. Consider how the light is striking the surface and how you can make the reflection stand out more.
You should always avoid shining direct light on water since it generates glare. The best option is to project the colourful item in direct light and then reflect it in a motionless body of water in the shade. This will result in a reflection with vivid colours and no glare.
Reflections give photography compositions structure and intrigue. Think about your lighting arrangement and how you can highlight the reflections more.
6. Utilize Polarizing Filters
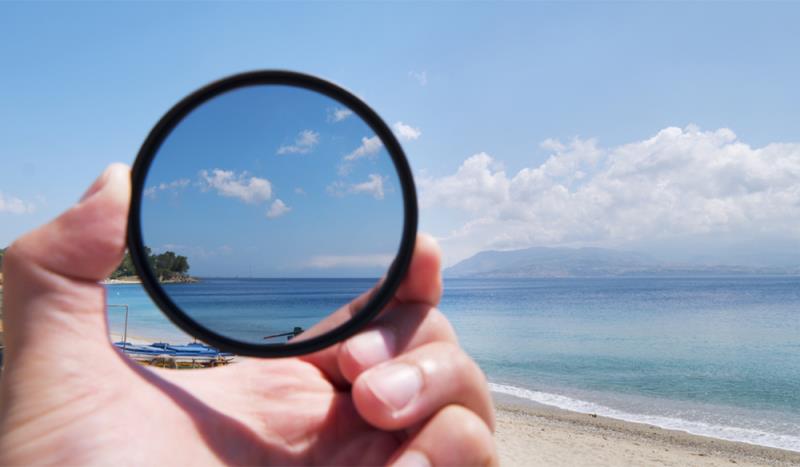
Polarizing filters improve the blues, darken the shadows, and reduce glare from reflecting objects. It’s a worthwhile buy that may revolutionise your beach photos, especially if you’re shooting in the middle of the day.
If you’re not shooting during the Golden Hour, try using a polarising filter to avoid overexposure and improve colours.
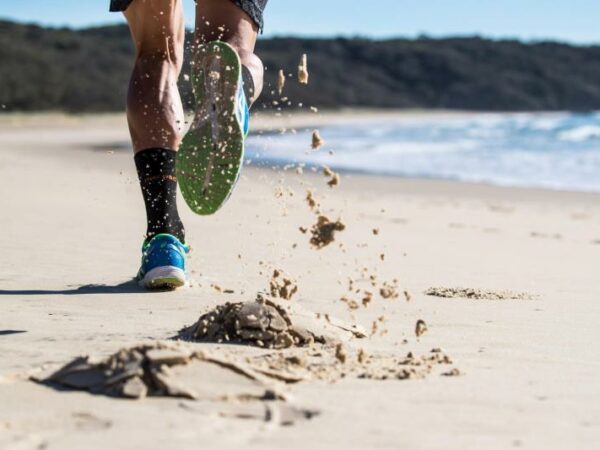
7. Shutter Speed – Capture Each Moment
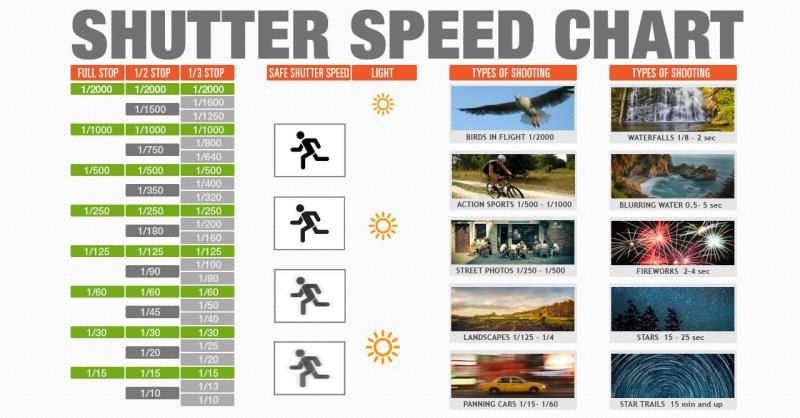
When participating in beach activities or cliff diving, there are several options for quick shutter speed photography. When you’re at the beach, experiment with shutter speeds of 1/1000, 1/2000, or even 1/4000 of a second to capture high-impact action.
In photography, varying shutter speeds may give equally spectacular images, especially when capturing flowing water and waves. A fast shutter speed, can stop moving waves. Meanwhile, a slow shutter speed can create an ethereal look by blurring wave motion.
When shooting with a short shutter speed, it’s critical to maintain your camera as motionless as possible, which necessitates the use of a tripod to reduce the possibility of shaking. You’ll also need to utilise a low ISO (about 100) and a high f-stop, ranging from f/18 to f/22.
8. Focus on Textures
Textures are frequently used as focus areas in beach photography. The ever-changing yet organized sand ripples are both interesting and lovely. Wind-swept dunes are full of intriguing features and textures to explore.
The beach is also rich with little elements that are often overlooked. You may extend the breadth of your composition and add interest by focusing on them in the foreground and leaving the vast views in the backdrop.
9. The Concept of Exposure
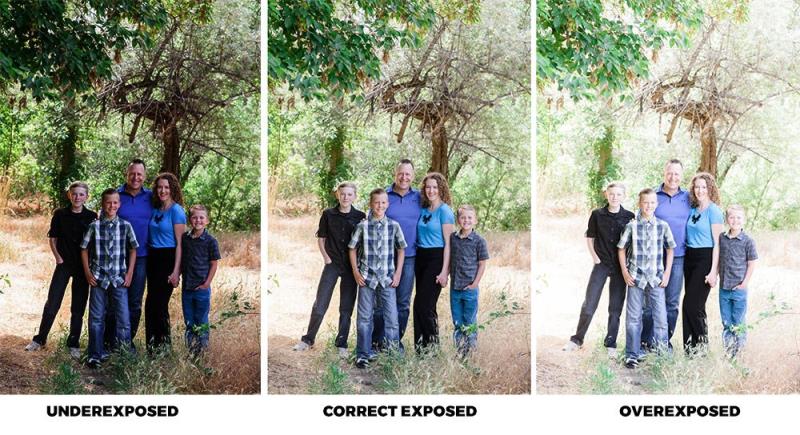
If the sun, sky, and sand appear to be excessively bright, your camera may underexpose your beach shots. If you’re shooting in RAW, manual mode, look for the Exposure Compensation slider on the camera’s right side.
To obtain motion blur at the beach, simply point your camera at flowing water and use a long enough exposure. A few seconds of movement is generally enough, however exposures of 15 seconds, 30 seconds, and longer can convert the entire ocean into a hazy blur.
Rather than relying on the camera, experiment with your Exposure Value (EV) slider. Consider the EV setting to be an override for your camera’s metre.
10. Capture People and Wildlife Candidly

Most of the time, you won’t want other people in your photographs, especially if you’re attempting to capture a landscape or seascape at the beach. However, there will be times when including additional individuals may boost your photographs, making the composition far more imaginative and exciting.
Although posing people is the quickest method to incorporate them in your beach photography, but waiting for candid opportunities instead, can bring out more authenticity. People will feel free to express their excitement when they let down their guard and immerse themselves in their surroundings.
Beaches are teeming with wildlife, ranging from nesting birds to starfish, crabs, sea urchins, and other critters lurking in rock pools along the beach. In the midst of the sea of skin and sand, they make excellent subjects.
Conclusion
In both Part 1 & Part 2 blogs, we have tried to cover most of the beach photography tips that are found most beneficial. It’s not the simplest topic in the world, but the tips provided here should get you started in the correct direction.
Start your Beachy Photography Today!